

Beginning with React and not sure the best way to get your native utility up and working? You’ve discovered the proper information. In in the present day’s net improvement, React has turn out to be indispensable for creating dynamic and environment friendly front-end functions. When it comes to cell apps, react native cell utility improvement is main the best way.
Whether or not you’re a front-end developer trying to showcase your React abilities or somebody interested by launching a neighborhood React utility, this complete information will solidify how one can run React app domestically.
We’ll cowl all the pieces from the fundamentals to getting your first React utility working in your native machine. By the top, you’ll have a strong understanding and sensible expertise with React.
Let’s get began!
What You Must Run a React App?
To run a React app domestically, there are just a few important necessities you should arrange in your system. Making certain that these conditions are put in and correctly configured will aid you get began easily. Let’s dive into the precise instruments and software program you should start working React functions in your native setting.
Conditions
Earlier than working a React app, you will need to have the next instruments put in and configured in your laptop. These conditions type the inspiration for constructing and deploying React functions domestically.
Node.js and npm
Node.js is a JavaScript runtime that means that you can run JavaScript code outdoors of an internet browser. It’s essential for growing trendy JavaScript functions, together with React apps. If you set up Node.js, npm (Node Bundle Supervisor) comes bundled with it. npm is used to handle the packages or libraries that your React utility will rely upon.
To put in Node.js and npm:
- Go to the Node.js Official Web site.
- Obtain the newest secure model appropriate along with your working system.
- Comply with the set up directions to finish the setup.
- Confirm the set up by working the next instructions in your terminal:
These instructions will show the put in variations of Node.js and npm, confirming the set up.
Putting in React
With Node.js and npm put in, you’ll be able to proceed to put in React. React apps may be shortly arrange utilizing the command-line software `create-react-app`, which simplifies the method of constructing and managing React initiatives.
To put in and create a brand new React app:
- Open your terminal.
- Run the next command to put in the `create-react-app` software:
| npm set up -g create-react-app |
- As soon as put in, you’ll be able to create a brand new React undertaking by working:
| npx create-react-app my-react-app |
- Navigate to the undertaking listing and begin React app:
| cd my-react-app npm begin |
Your React utility will now begin on `http://localhost:3000`, and you’ll start growing your React undertaking.
“What’s React Native Paper?”
Setting Up Your Atmosphere
Earlier than diving into React improvement, it’s vital to have a well-configured setting. This ensures clean coding, debugging, and administration of your React initiatives. Establishing your setting entails selecting the best code editor, organizing your undertaking, and making certain all needed instruments are put in. Under, we clarify the best way to arrange Visible Studio Code (VS Code) as your code editor and the best way to put together your undertaking for improvement.
Putting in VS Code
Visible Studio Code, generally often known as VS Code, is among the hottest code editors for JavaScript improvement, together with React initiatives. It’s light-weight, versatile, and full of options that assist improve productiveness. Right here’s how one can set up and set it up:
1. Obtain VS Code:
- Go to the Visible Studio Code official web site.
- Select the model appropriate in your working system (Home windows, macOS, or Linux).
- Obtain and comply with the set up directions.
2. Set up Helpful Extensions:
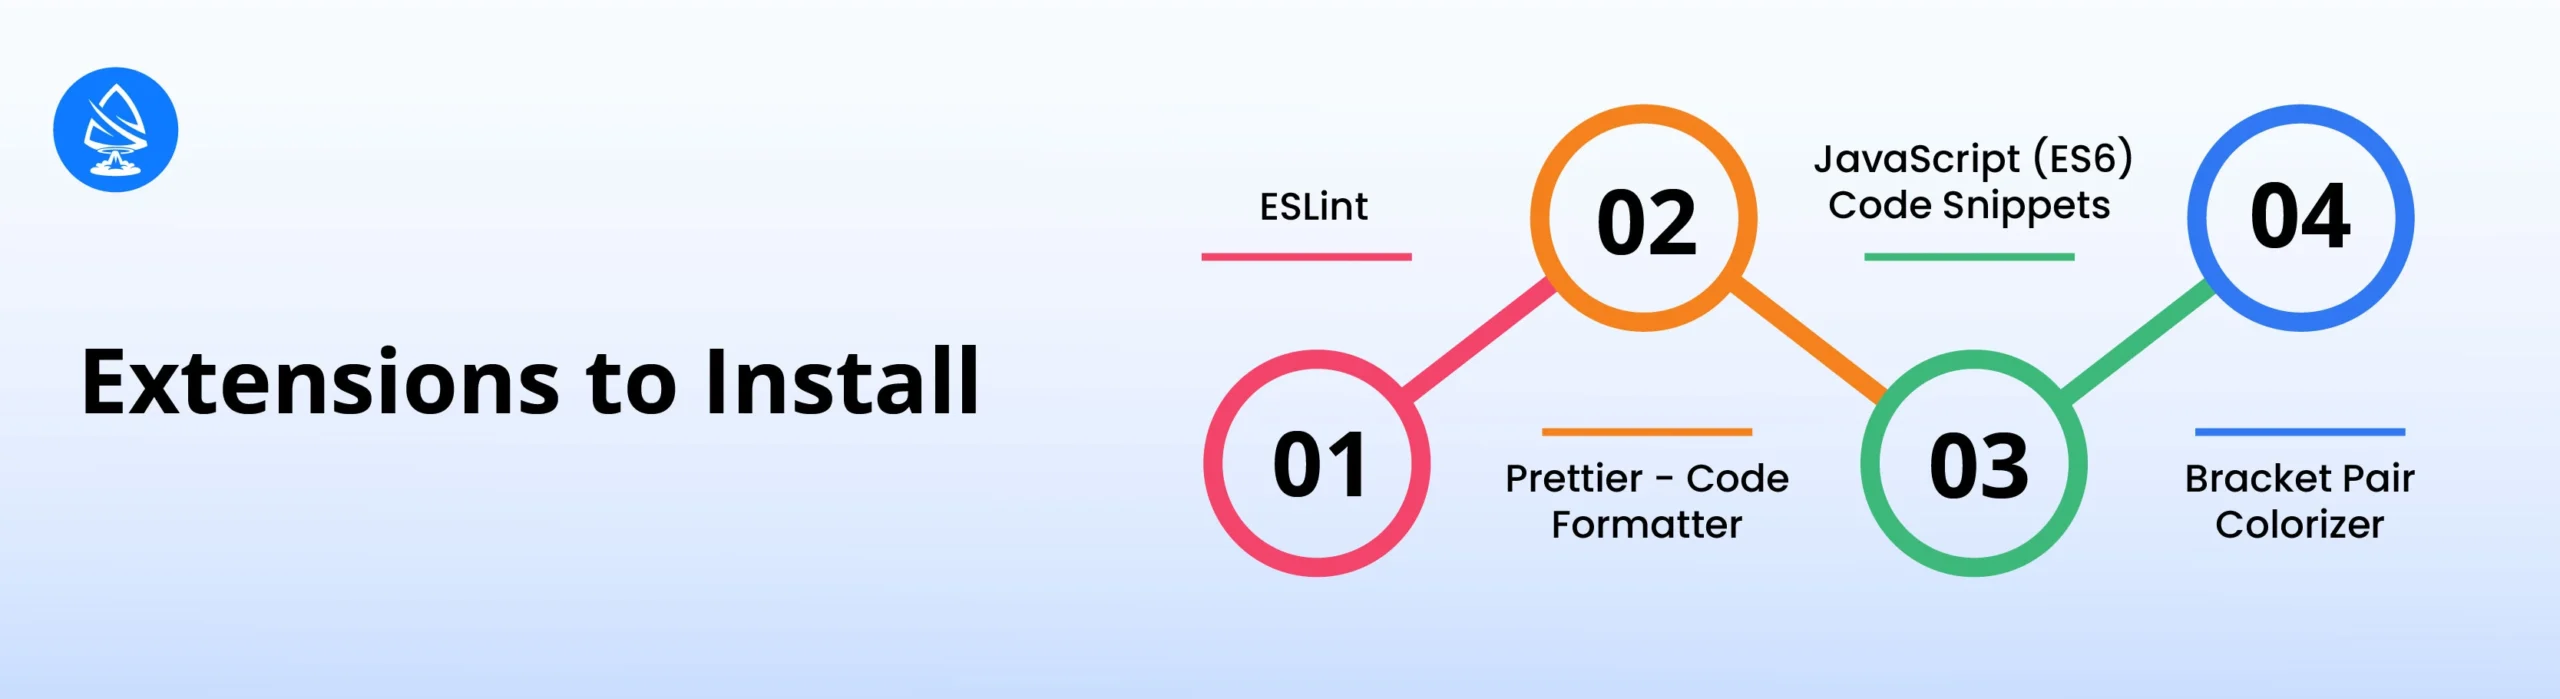
To streamline your React improvement, set up some important VS Code extensions. These embrace:
- ESLint: Helps catch syntax errors and enforces coding requirements.
- Prettier – Code Formatter: Routinely codecs your code to make it extra readable.
- JavaScript (ES6) code snippets: Supplies useful code snippets for quicker coding.
- Bracket Pair Colorizer: Shade-codes matching brackets, making your code simpler to learn.
3. Customise Settings:
- Open the settings by clicking on `File > Preferences > Settings`.
- Right here, you’ll be able to customise font dimension, theme, auto-saving, and extra to match your preferences.
VS Code’s built-in terminal and Git help additionally make it simpler to handle initiatives, observe modifications, and run your app with out leaving the editor.
Setting Up Venture
After putting in your code editor, the following step is to arrange your React undertaking. This entails making a structured listing, initializing the undertaking, and configuring it for improvement.
1. Create a Venture Listing:
- Select a location in your system the place you wish to retailer your React initiatives.
- Open the terminal (or command immediate) and navigate to this location.
- Run the next command to create a brand new listing:
| mkdir my-react-project cd my-react-project |
2. Initialize the React Venture:
Use the `create-react-app` software to arrange your React setting and begin react app. This can routinely configure the undertaking construction, set up dependencies, and supply scripts for working the app.
| npx create-react-app my-react-app |
The command above will create a brand new folder named `my-react-app` with all the mandatory recordsdata and directories.
3. Open the Venture in VS Code:
You’ll be able to open your undertaking straight from the terminal utilizing:
This can launch VS Code along with your undertaking folder loaded.
4. Begin the Growth Server:
Navigate to the foundation of your undertaking and begin React app improvement server by working:
This can compile the React utility and serve it domestically. You’ll be able to view your undertaking in an internet browser at `http://localhost:3000`.
After organising your setting, you should be questioning the best way to run react app, however you additionally want to know the best way to handle packages and dependencies. Right here we’ll discover all the pieces.
“Styling in React Native: A Should-Learn Information for React Builders”
Methods to Handle Packages and Dependencies?
Managing packages and dependencies is an important a part of working with React and JavaScript initiatives. Dependencies are the libraries or modules your undertaking depends on to perform correctly. Efficient administration ensures that your undertaking runs easily and stays up-to-date. Right here’s how one can handle packages and dependencies in a React undertaking.
What are Dependencies?
Dependencies are exterior packages that your React app wants. For instance, `react` and `react-dom` are important dependencies for any React undertaking. These packages assist add performance, deal with complicated duties, and simplify your coding course of. There are two forms of dependencies:
1. Common Dependencies (`dependencies`):
- These are important in your utility to run. They embrace libraries like `react`, `axios`, `redux`, and so on.
- You outline these dependencies within the `package deal.json` file below the `dependencies` part.
2. Growth Dependencies (`devDependencies`):
- These are used solely through the improvement section. They don’t seem to be wanted when the app is deployed in a manufacturing setting.
- Examples embrace testing libraries (`jest`, `enzyme`), construct instruments (`webpack`, `babel`), and linters (`eslint`, `prettier`).
- These are listed below the `devDependencies` part in `package deal.json`.
Putting in Packages
To put in packages in your React undertaking, you utilize `npm` (Node Bundle Supervisor) or `yarn`. These package deal managers make it simple so as to add, take away, and replace dependencies.
1. Utilizing npm:
To put in a package deal, comply with the beneath command to run react app:
| npm set up package-name |
By default, this command provides the package deal to the `dependencies` part. For instance:
So as to add a package deal as a improvement dependency, use:
Instance:
| npm set up eslint –save-dev |
2. Utilizing yarn:
You may as well handle packages with `yarn`, which some builders desire for its pace.
| yarn add package-name |
For improvement dependencies to run react app command:
| yarn add package-name –dev |
What’s `package deal.json` in dependency administration?
The `package deal.json` file is on the coronary heart of dependency administration. It accommodates metadata about your undertaking, together with the record of dependencies, undertaking scripts, model particulars, and extra.
Right here’s a breakdown of its key elements:
- `dependencies`: Lists all packages wanted to run the app.
- `devDependencies`: Lists packages required for improvement.
- `scripts`: Comprises customized instructions you’ll be able to run to automate duties like beginning the server, constructing the app, working exams, and extra.
- `model`: Exhibits the model of your undertaking. Every time you replace your code considerably, this model needs to be incremented.
Instance of a primary `package deal.json` construction:
| { “title”: “my-react-app”, “model”: “1.0.0”, “dependencies”: { “react”: “^18.0.0”, “axios”: “^1.2.0” }, “devDependencies”: { “eslint”: “^8.0.0” }, “scripts”: { “begin”: “react-scripts begin”, “construct”: “react-scripts construct”, “take a look at”: “react-scripts take a look at”, “eject”: “react-scripts eject” } } |
Updating Packages
Retaining dependencies up-to-date is important for safety and compatibility. You’ll be able to replace packages utilizing:
1. npm:
To verify outdated packages:
To replace all packages:
For a particular package deal:
| npm set up package-name@newest |
2. yarn:
To verify outdated packages:
To replace all packages:
For a particular package deal:
| yarn improve package-name |
Eradicating Packages
Eradicating unused packages retains your undertaking light-weight and freed from pointless dependencies.
1. npm:
To take away a package deal:
| npm uninstall package-name |
This can delete the package deal from the `node_modules` folder and take away it from `package deal.json`.
2. yarn:
To take away a package deal:
| yarn take away package-name |
Lock Information (`package-lock.json` and `yarn.lock`)
If you set up dependencies, `npm` or `yarn` generates a lock file (`package-lock.json` for npm, `yarn.lock` for yarn). These recordsdata be certain that the identical variations of dependencies are put in each time, which helps keep consistency throughout totally different environments.
Be certain that to commit the lock recordsdata to model management (e.g., Git) to keep away from discrepancies when different builders arrange the undertaking or when deploying to manufacturing.
Making Your React Software Prepared for Deployment
When you’ve developed and examined your React utility domestically, the following step is to arrange it for deployment. Deployment entails packaging your app and making it accessible on an internet server, permitting customers to entry it through the web. This course of ensures that your utility is optimized for efficiency, safety, and scalability.
Right here’s a step-by-step information on the best way to make your React app prepared for deployment.
1. Optimize Your Code for Manufacturing

Earlier than deploying, it’s important to optimize your utility. The event construct of a React app contains useful debugging options and instruments, however these aren’t wanted in manufacturing and may make your app bigger and slower. To optimize your React app:
1.1 Take away Unused Code and Elements:
- Undergo your undertaking and guarantee you aren’t together with any unused elements, capabilities, or variables. This reduces the dimensions of your ultimate construct.
1.2 Minify JavaScript and CSS:
- Minification reduces the dimensions of your JavaScript and CSS recordsdata by eradicating pointless areas, feedback, and shortening variable names. This helps in quicker loading occasions.
- Webpack, which is built-in into React’s `create-react-app`, routinely handles this through the construct course of.
1.3 Compress Pictures:
- Giant photographs can considerably decelerate your app. Use picture compression instruments like `imagemin`, `tinypng`, or `jpegoptim` to cut back the dimensions of photographs with out compromising high quality.
1.4 Tree Shaking:
- Tree shaking is a method to remove useless code out of your app. It helps cut back the ultimate bundle dimension by together with solely the mandatory code.
2. Create a Manufacturing Construct
To deploy a React utility, you should create a manufacturing construct. A manufacturing construct bundles your code and optimizes it for higher efficiency.
2.1 Run the Construct Command:
In your undertaking listing, open the terminal and run:
It would create a brand new folder known as `construct` in your undertaking listing. The `construct` folder accommodates the minified, optimized model of your React app, which is able to be deployed.
2.2 Perceive the Construct Information:
The `construct` folder contains:
- HTML (`index.html`): The primary entry level of your React app.
- JavaScript and CSS recordsdata: Minified and optimized code for quicker load occasions.
- Static Belongings: Pictures, fonts, and different belongings.
This `construct` folder is what you’ll add to your net server.
3. Setting Atmosphere Variables
Atmosphere variables permit you to configure your app for various environments (improvement, testing, manufacturing) with out hardcoding delicate data. For instance, you may want totally different API endpoints for improvement and manufacturing.
3.1 Create `.env` Information:
Add environment-specific variables in `.env` recordsdata:
| REACT_APP_API_URL=https://api.instance.com |
In your React code, you’ll be able to entry this variable utilizing:
| const apiUrl = course of.env.REACT_APP_API_URL; |
3.2 Construct Your App with Atmosphere Variables:
Be certain that to set the right variables earlier than working the `npm run construct` command, because the construct course of will use these values to configure your utility.
4. Selecting a Internet hosting Platform
There are a number of platforms you should utilize to host your React utility. Some well-liked selections embrace:
4.1 Netlify:
- A user-friendly platform that means that you can drag and drop your `construct` folder to deploy.
- Helps steady deployment via Git, so each time you push modifications to your Git repository, the app is routinely redeployed.
4.2 Vercel:
- Easy and quick deployment service, particularly for React apps.
- Join your GitHub repository, and Vercel will deal with the deployment routinely.
4.3 GitHub Pages:
- Appropriate for internet hosting smaller, static web sites. You’ll be able to deploy your React app without cost by pushing your `construct` folder to a GitHub repository.
4.4 AWS S3 and CloudFront:
- Appropriate for scalable, enterprise-level deployments. Add your `construct` folder to an S3 bucket and serve it through CloudFront for quicker world supply.
5. Deploying Your App
The method of deploying your React app relies on the internet hosting platform you select. Right here’s a basic information:
5.1 Netlify:
- Log in to your Netlify account and click on “New web site from Git.”
- Join your GitHub (or GitLab, Bitbucket) repository.
- Specify the construct command (`npm run construct`) and the publish listing (`construct`).
- Netlify will routinely deploy your app, and offer you a dwell URL.
5.2 Vercel:
- Log in to your Vercel account and click on “New Venture.”
- Import your GitHub repository and comply with the setup directions.
- Vercel will routinely deal with the construct course of and deploy your React app.
5.3 GitHub Pages:
Set up the GitHub Pages package deal:
| npm set up gh-pages –save-dev |
Replace your `package deal.json`:
| “homepage”: “https://yourusername.github.io/your-repository”, “scripts”: { “predeploy”: “npm run construct”, “deploy”: “gh-pages -d construct” } |
Run the command to deploy:
Your React app shall be out there at `https://yourusername.github.io/your-repository`.
6. Confirm and Monitor Your Deployed App

As soon as your app is deployed, it’s vital to confirm all the pieces works as anticipated:
- Check the dwell utility: Test that every one options work appropriately. Be certain that there aren’t any damaged hyperlinks, lacking belongings, or console errors.
- Monitor efficiency: Use instruments like Google Lighthouse, PageSpeed Insights, or New Relic to observe your app’s efficiency. Guarantee quick load occasions and minimal latency.
- Arrange error monitoring: Think about including error monitoring instruments like Sentry or LogRocket. These assist observe points and crashes customers might encounter, permitting you to repair them promptly.
Wrapping Up!

Working a React app domestically isn’t just a talent; it’s the gateway to creating interactive net functions. Whether or not you’re a newbie or an skilled developer, understanding the best way to arrange and run a React app will empower you to construct wonderful consumer interfaces.
So, would you select React in your subsequent undertaking? Our workforce of certified builders will make sure that your undertaking meets the standard requirements and delivered on time.
Rent React Native App Builders from Artoon Options Now!
FAQs
1. What’s React?
React is a JavaScript library for constructing consumer interfaces, primarily for net functions.
2. How do I create a brand new React app?
You’ll be able to create a brand new React app utilizing the command `npx create-react-app my-app`.
3. What instruments do I must run a React app?
You want Node.js and npm, together with a code editor like VS Code.
4. How can I troubleshoot points when working my React app?
Frequent troubleshooting steps embrace checking your undertaking listing and making certain all dependencies are put in.
5. Can I exploit React for cell app improvement?
Sure, with React Native, you’ll be able to construct cell functions utilizing React.
Artoon Options
Artoon Options is a expertise firm that focuses on offering a variety of IT companies, together with net and cell app improvement, recreation improvement, and net utility improvement. They provide customized software program options to shoppers throughout numerous industries and are identified for his or her experience in applied sciences reminiscent of React.js, Angular, Node.js, and others. The corporate focuses on delivering high-quality, modern options tailor-made to satisfy the precise wants of their shoppers.
